> ## Documentation Index
> Fetch the complete documentation index at: https://adadvisor.ai/docs/llms.txt
> Use this file to discover all available pages before exploring further.
# Onboarding Walkthrough
> Step-by-step guide through AdAdvisor's onboarding flow, from organization setup to your dashboard.
After creating your account, AdAdvisor walks you through a 6-step onboarding flow. This is where you tell us about your business so we can tailor everything to your needs. The whole process takes about 3 minutes.
 ## Step 1: Welcome
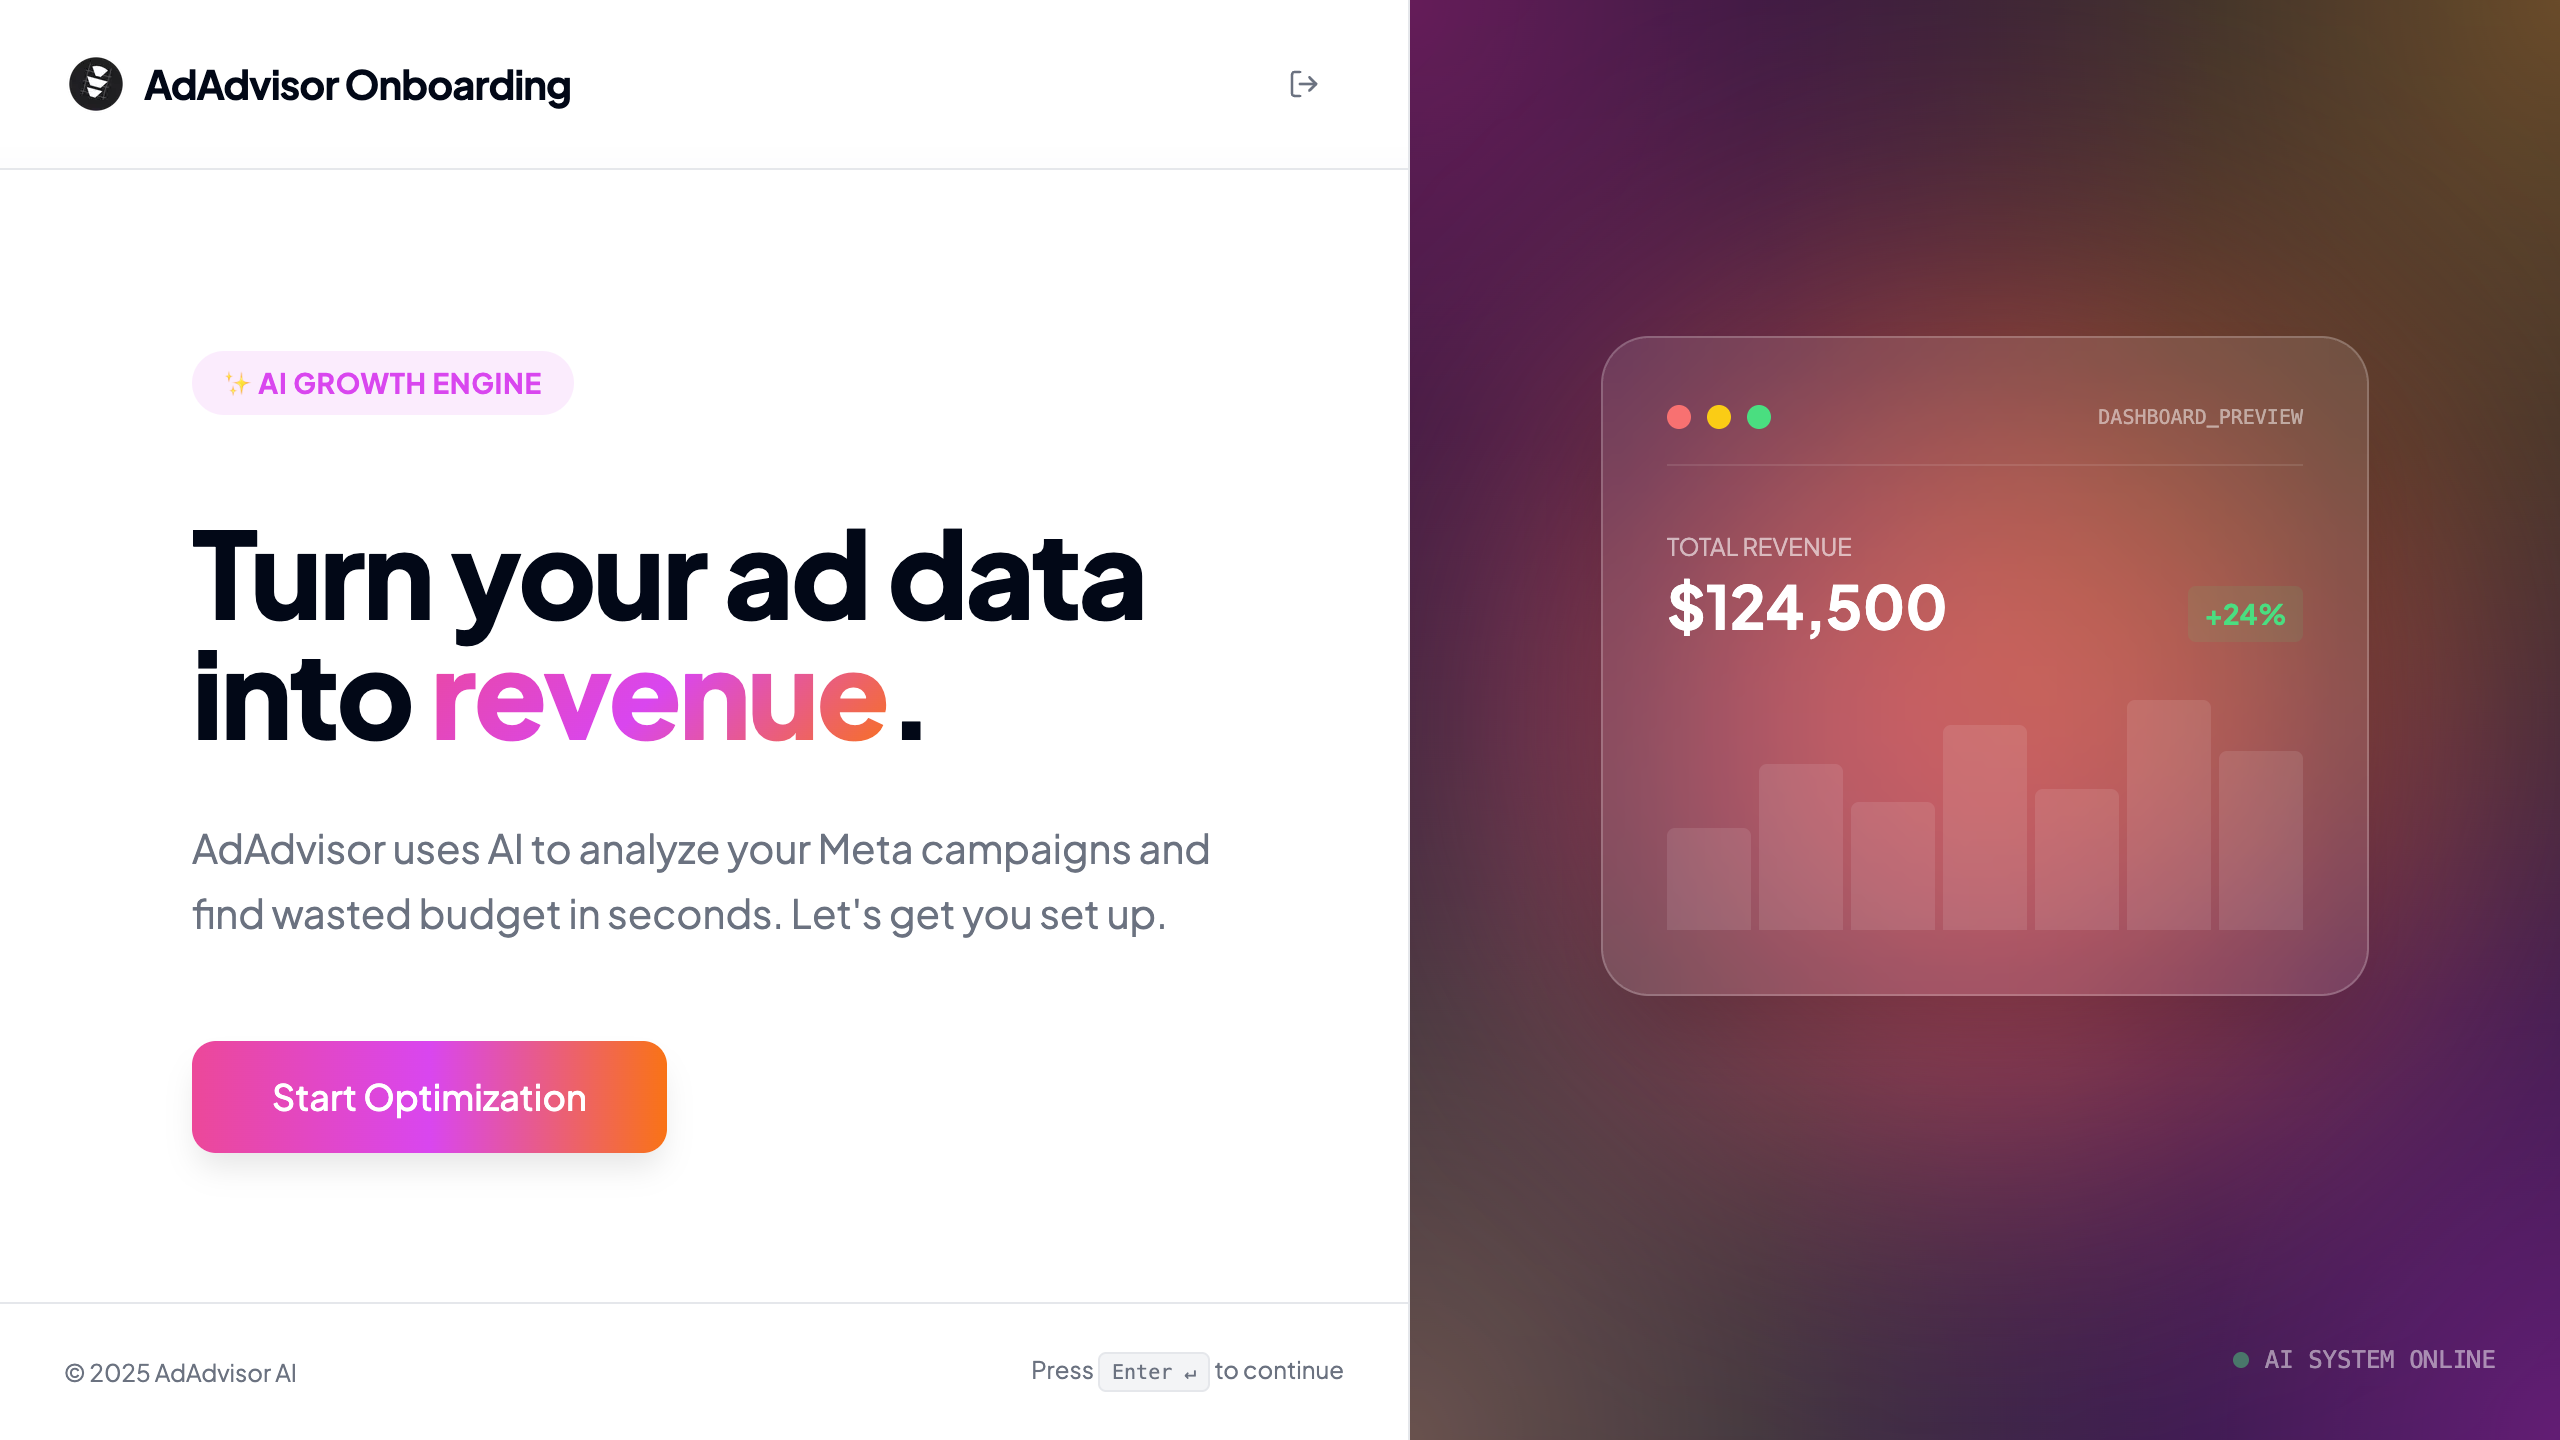
A quick intro screen explaining what AdAdvisor will do for you. Click **Start Optimization** to begin.
## Step 2: Organization name
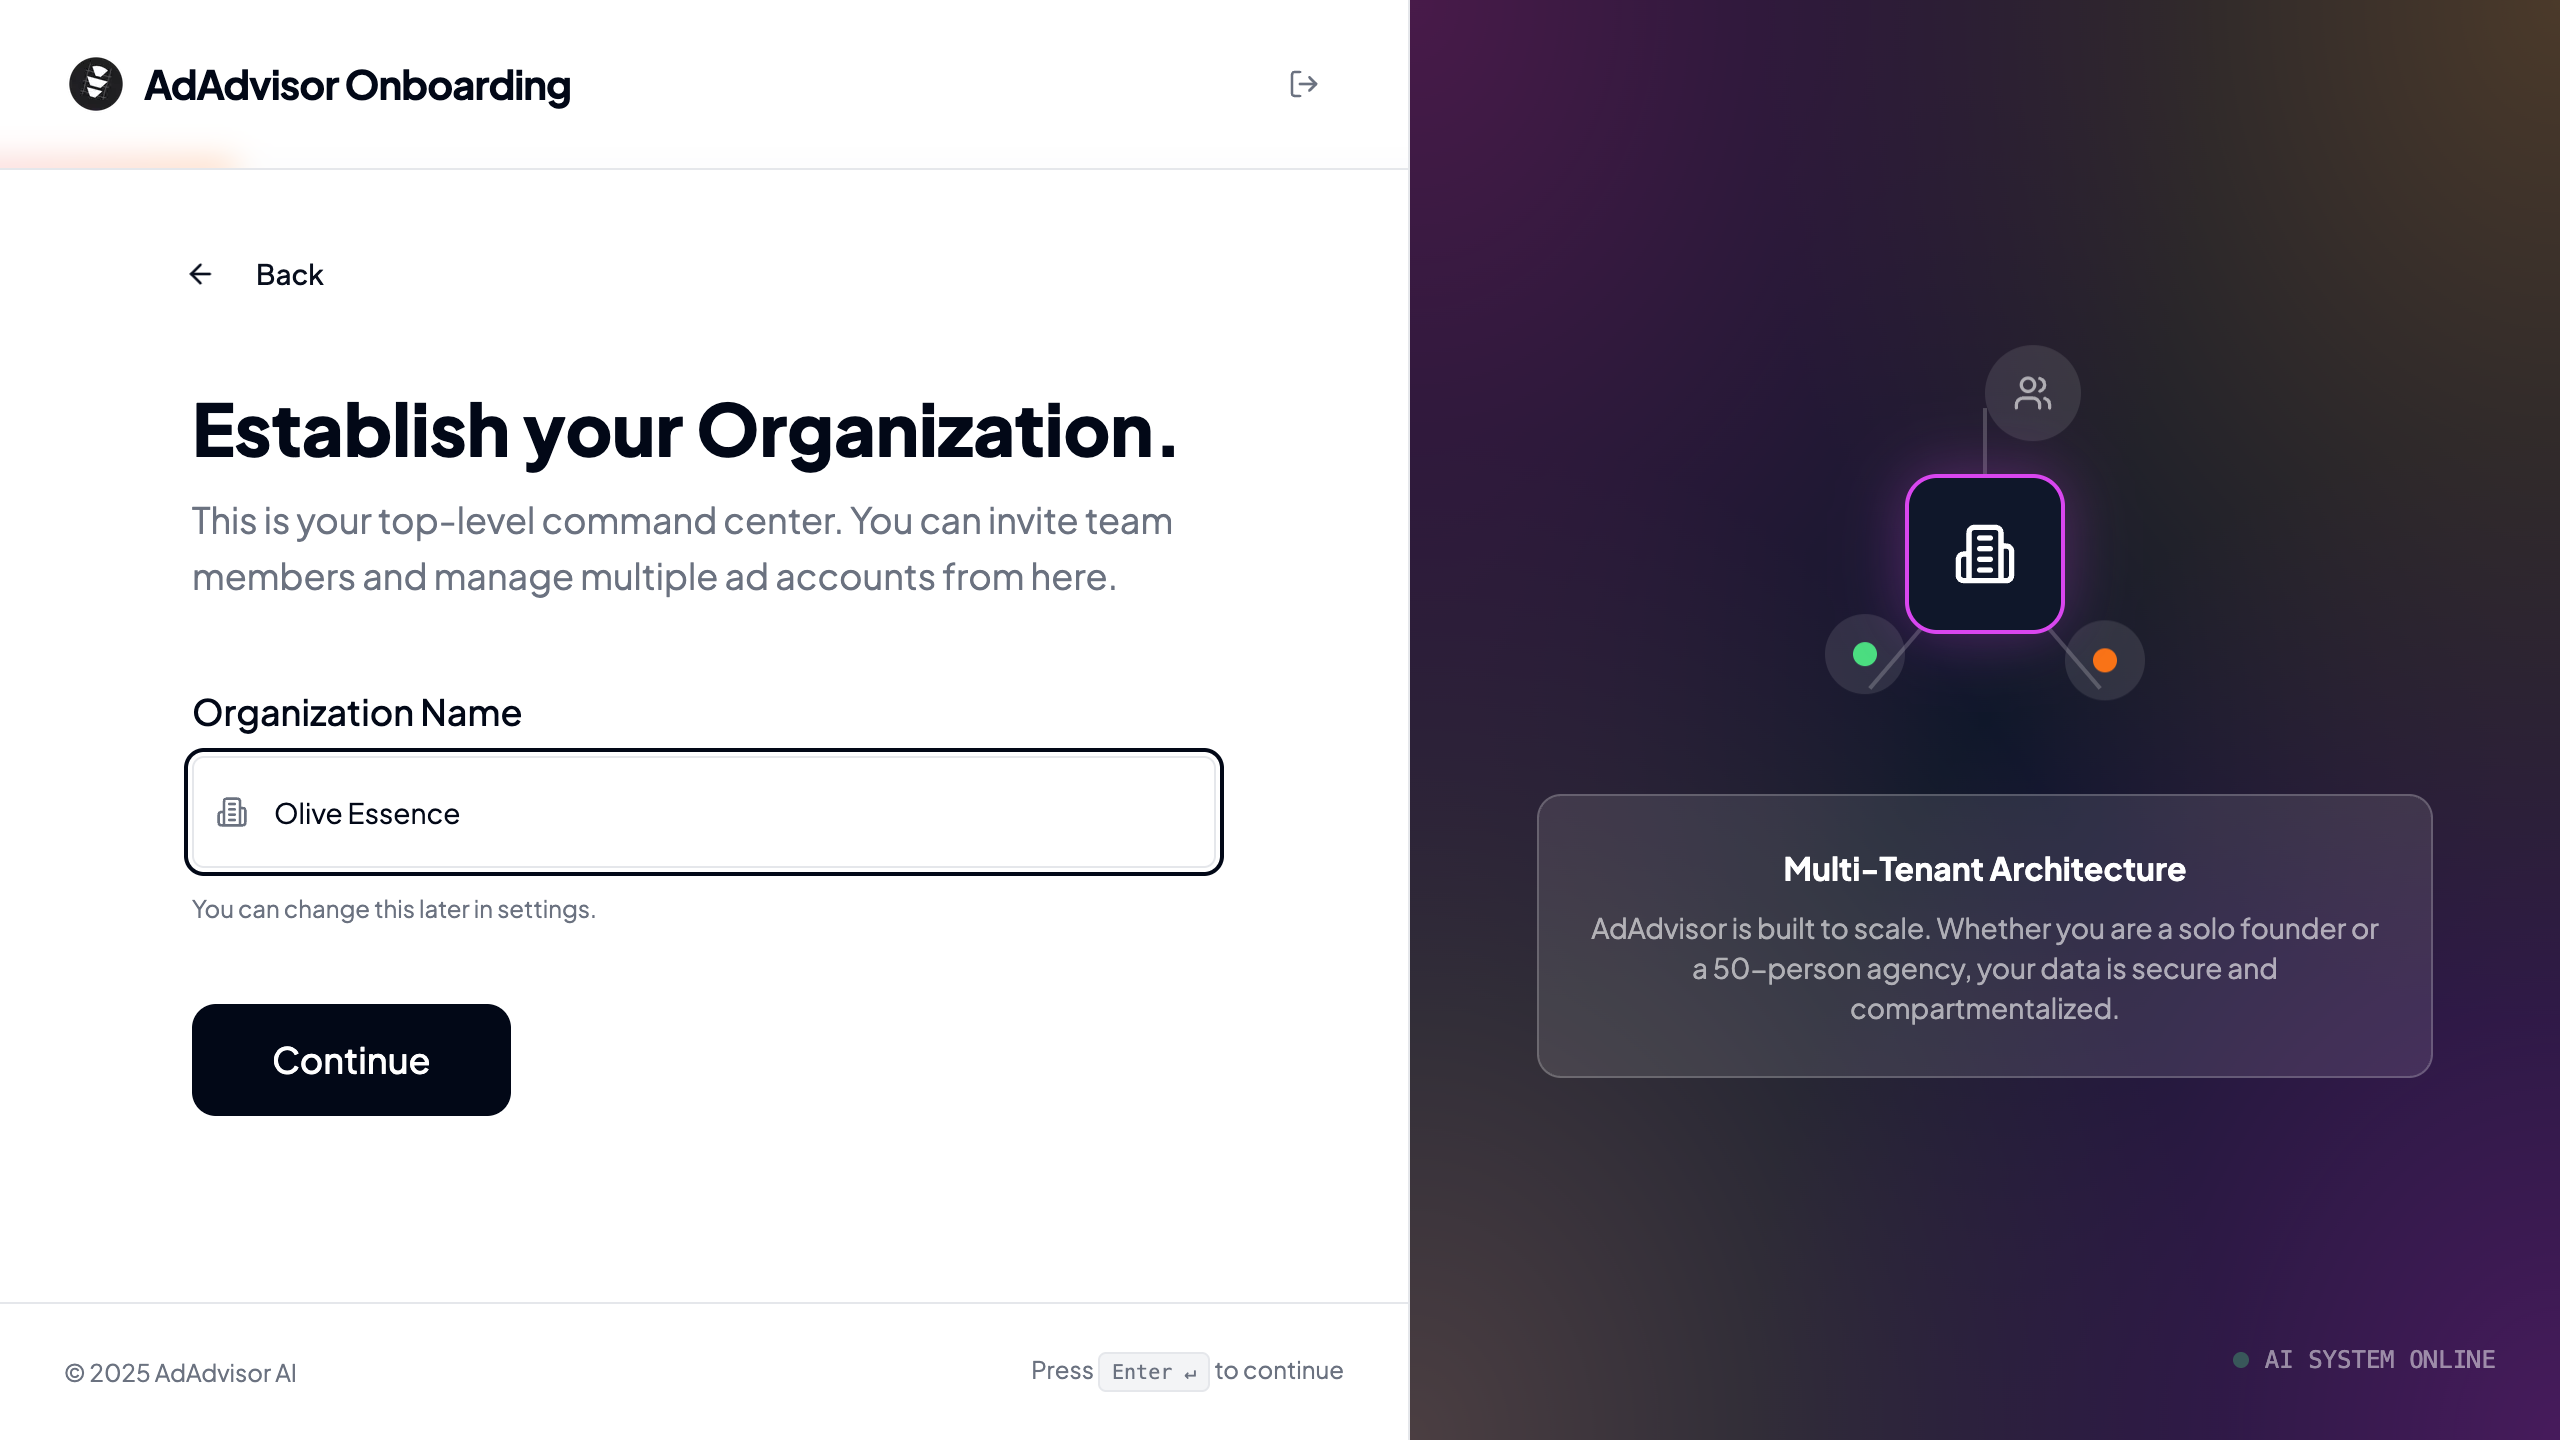
Enter the name of your organization. This is the top-level container for your team and businesses.
* If you're a brand owner, this is typically your company name.
* If you're an agency, this is your agency name.
You can change your organization name later in **Settings > Organization**.
## Step 1: Welcome
A quick intro screen explaining what AdAdvisor will do for you. Click **Start Optimization** to begin.
## Step 2: Organization name
Enter the name of your organization. This is the top-level container for your team and businesses.
* If you're a brand owner, this is typically your company name.
* If you're an agency, this is your agency name.
You can change your organization name later in **Settings > Organization**.
 ## Step 3: Use case
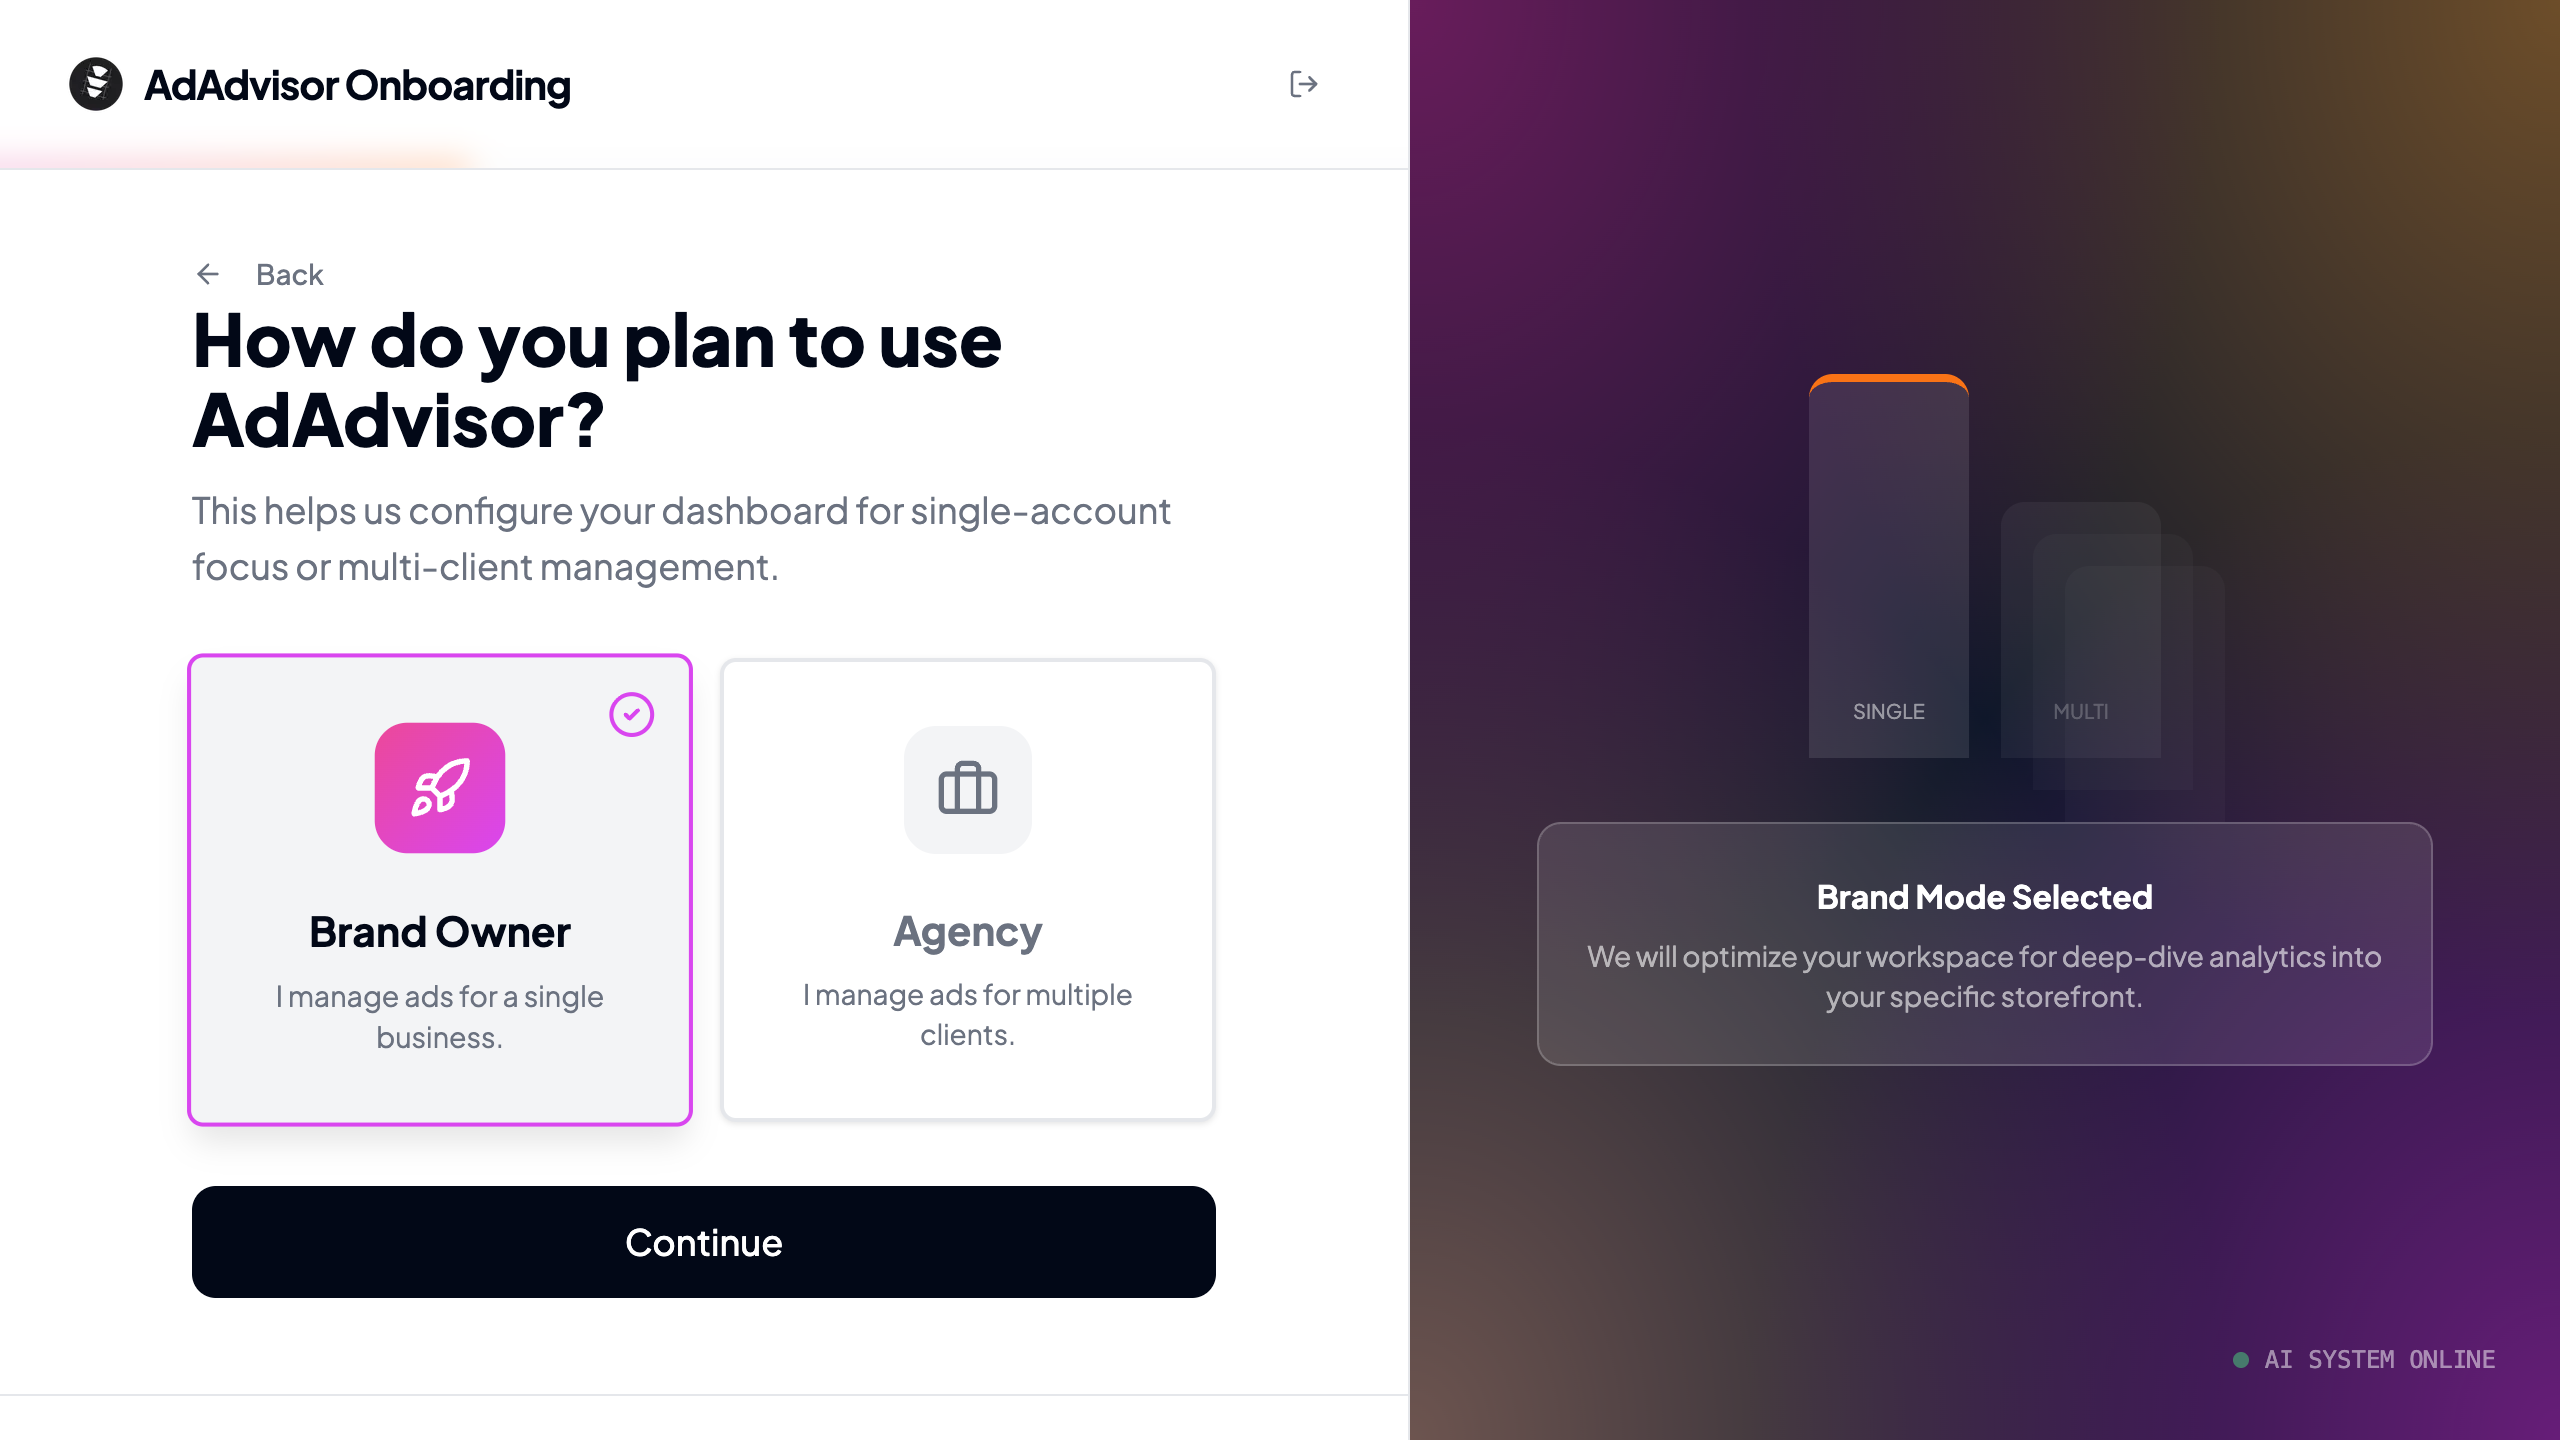
Tell us whether you're a **Brand Owner** (managing ads for one business) or an **Agency** (managing ads for multiple clients). This affects the labels you'll see throughout the app and the plan options available to you.
## Step 3: Use case
Tell us whether you're a **Brand Owner** (managing ads for one business) or an **Agency** (managing ads for multiple clients). This affects the labels you'll see throughout the app and the plan options available to you.
 ## Step 4: Business details
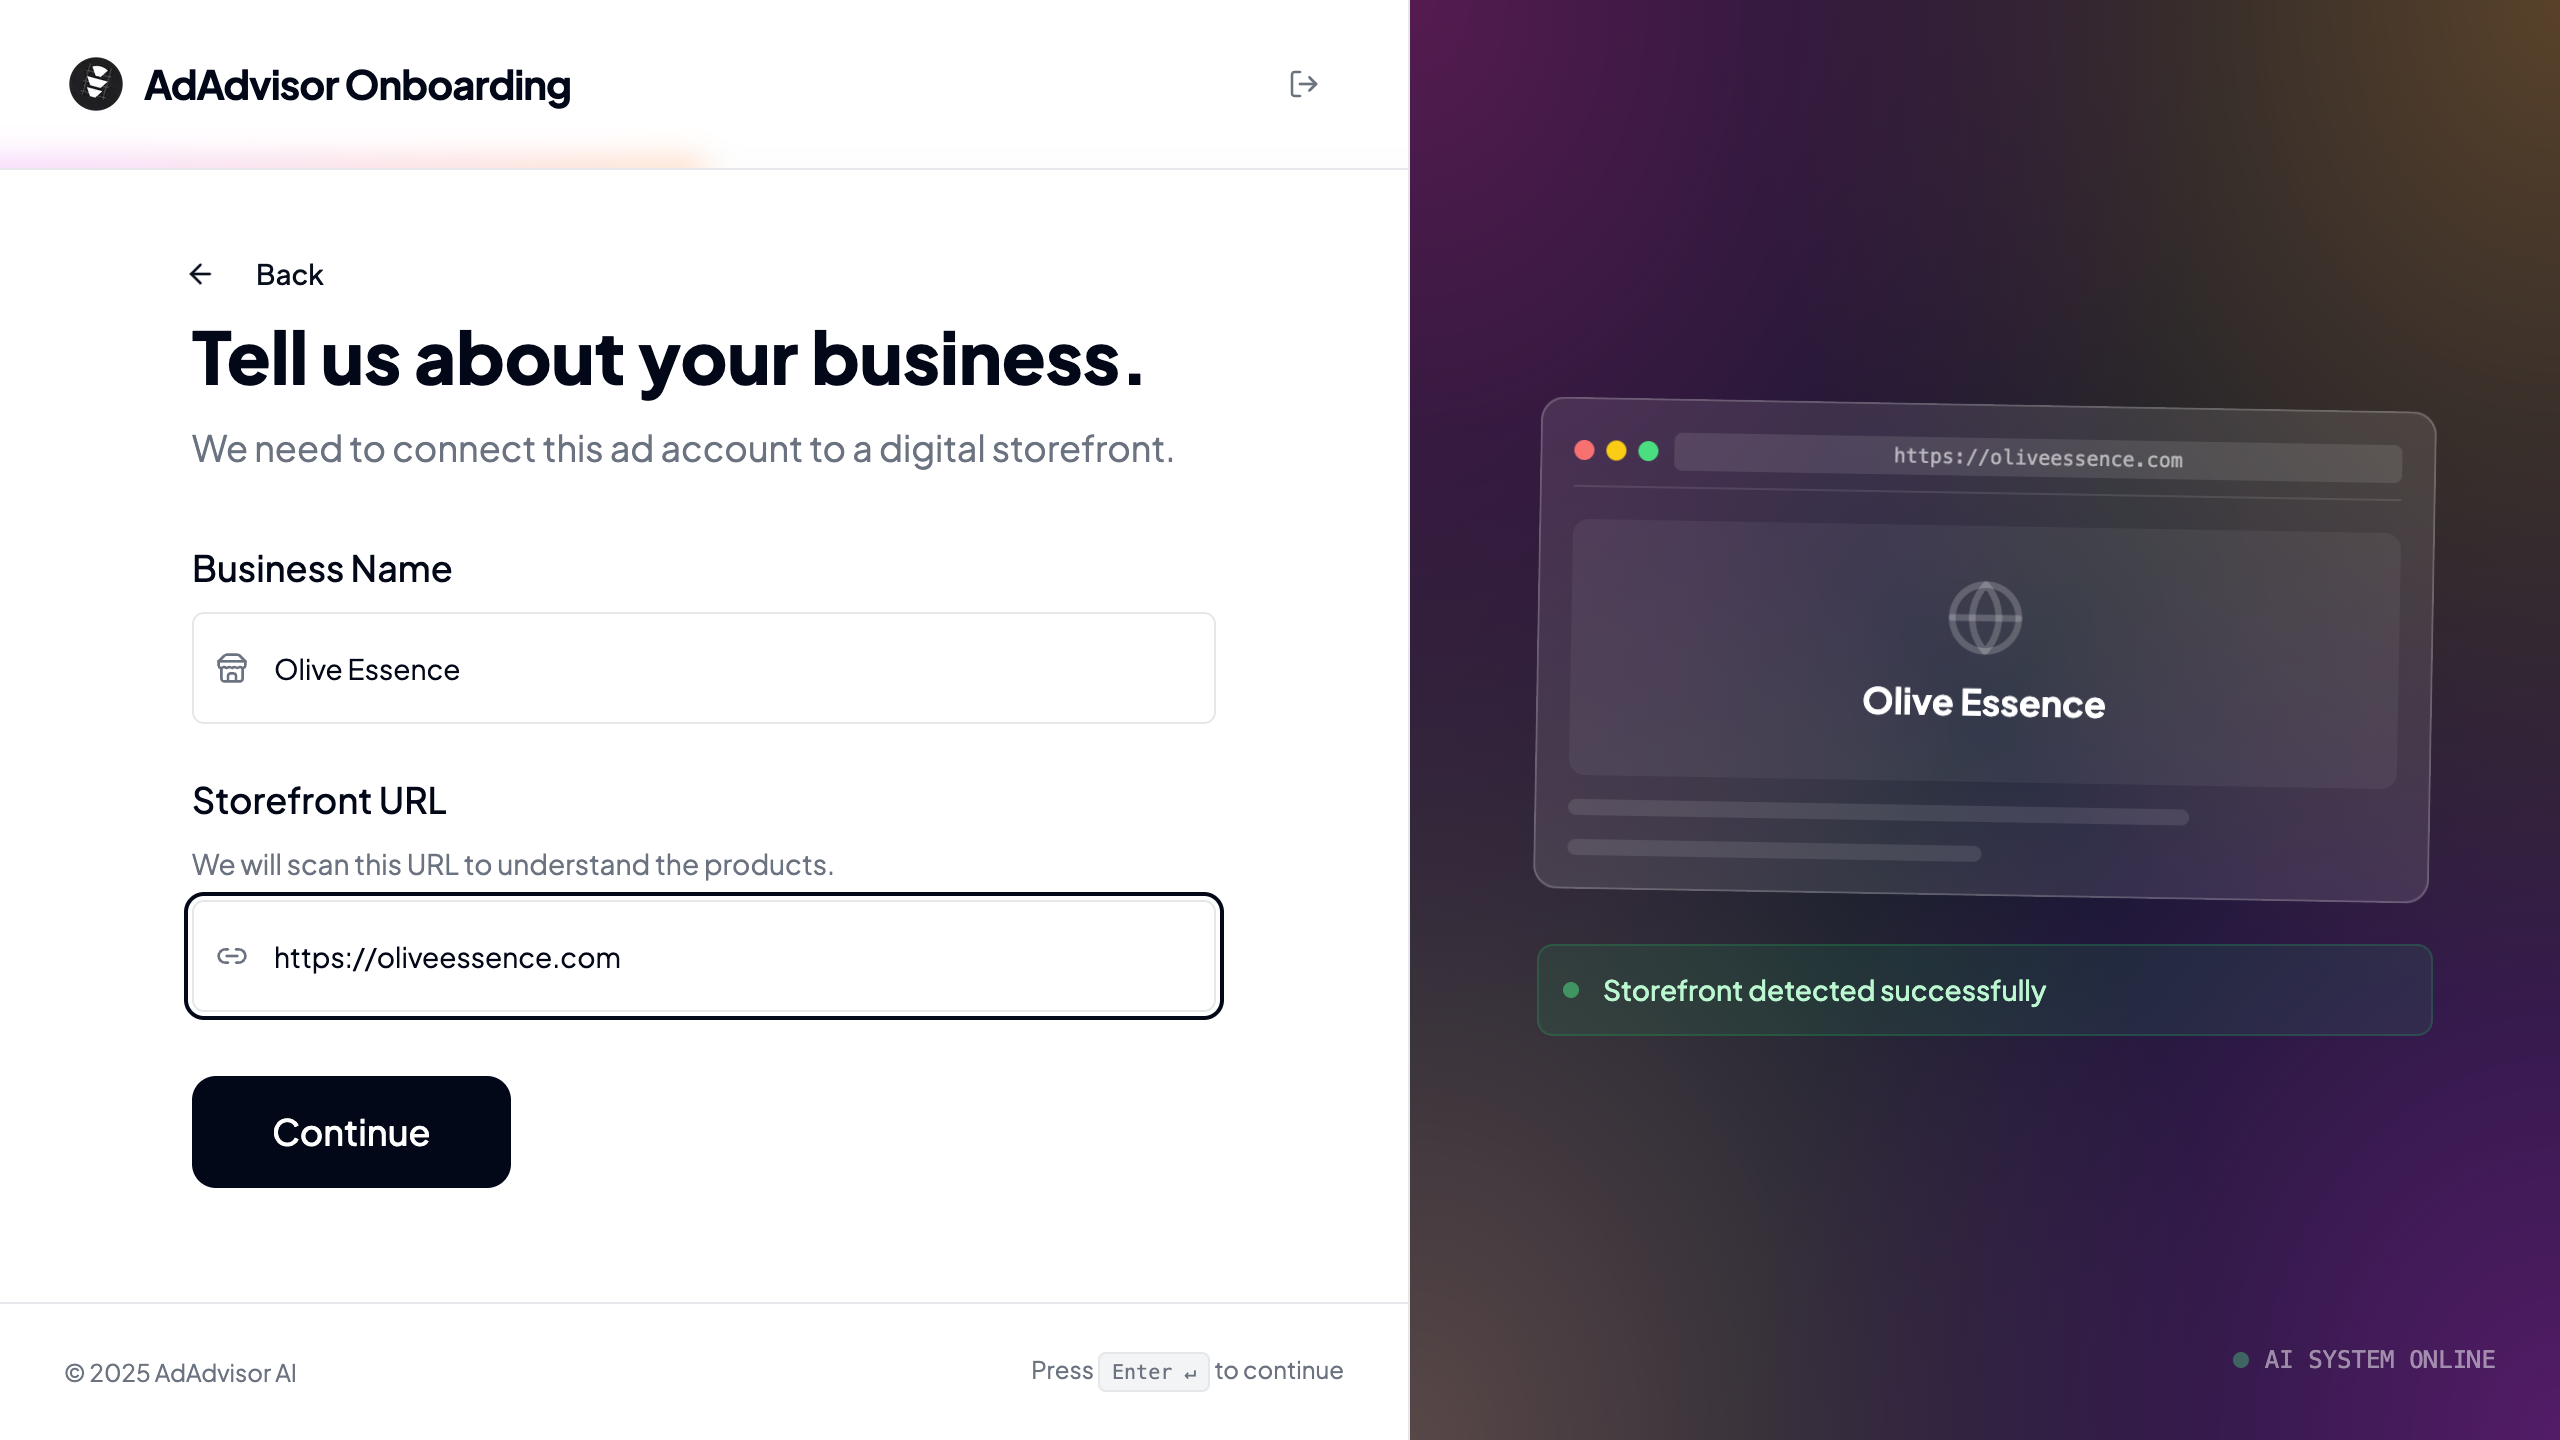
Enter your first business name and storefront URL.
* **Business name**: The name of the brand or store you're advertising for.
* **Storefront URL**: Your website. AdAdvisor will scan this later to understand your products and generate better recommendations.
If you're an agency, this is your first client business. You can add more businesses from the dashboard after onboarding.
## Step 4: Business details
Enter your first business name and storefront URL.
* **Business name**: The name of the brand or store you're advertising for.
* **Storefront URL**: Your website. AdAdvisor will scan this later to understand your products and generate better recommendations.
If you're an agency, this is your first client business. You can add more businesses from the dashboard after onboarding.
 ## Step 5: Campaign goal
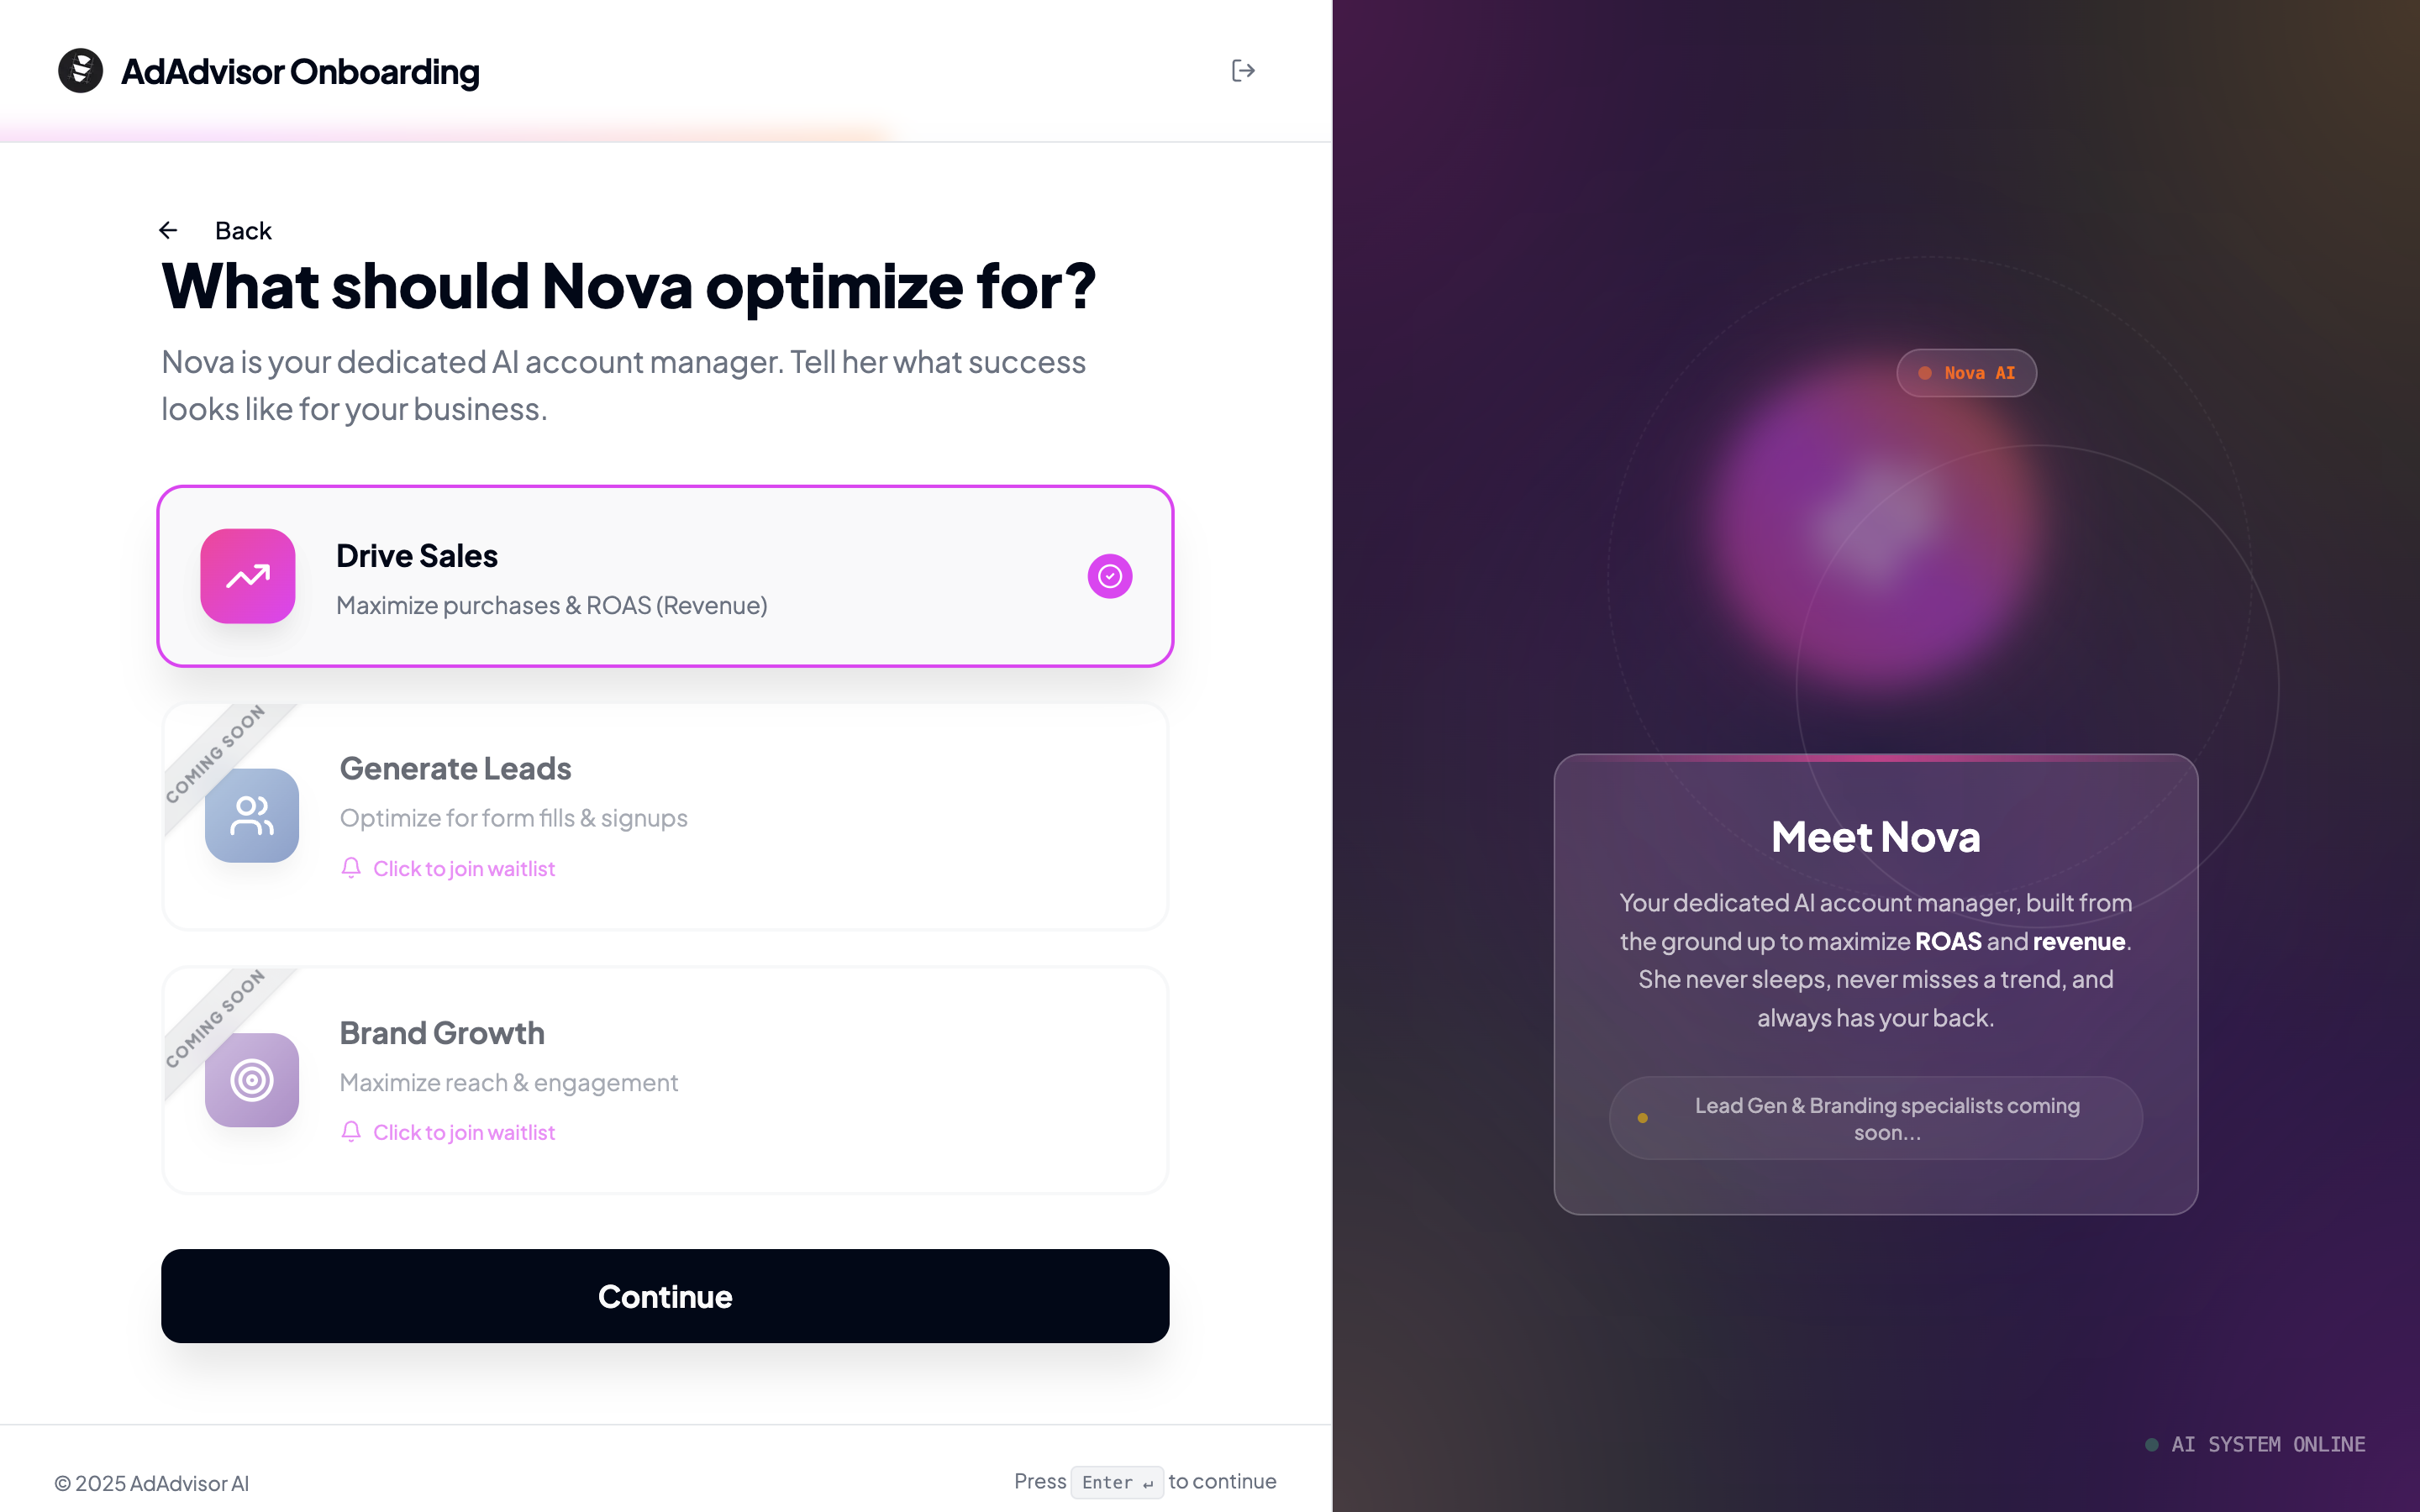
Select what you want to optimize for. Right now, **Drive Sales** (maximizing purchases and [ROAS](/learn/roas)) is available. Lead generation and brand growth are coming soon.
If you select a "coming soon" option, you can join the waitlist to be notified when it launches.
## Step 5: Campaign goal
Select what you want to optimize for. Right now, **Drive Sales** (maximizing purchases and [ROAS](/learn/roas)) is available. Lead generation and brand growth are coming soon.
If you select a "coming soon" option, you can join the waitlist to be notified when it launches.
 ## Step 6: Budget and metrics
This step has two parts:
### Monthly ad budget
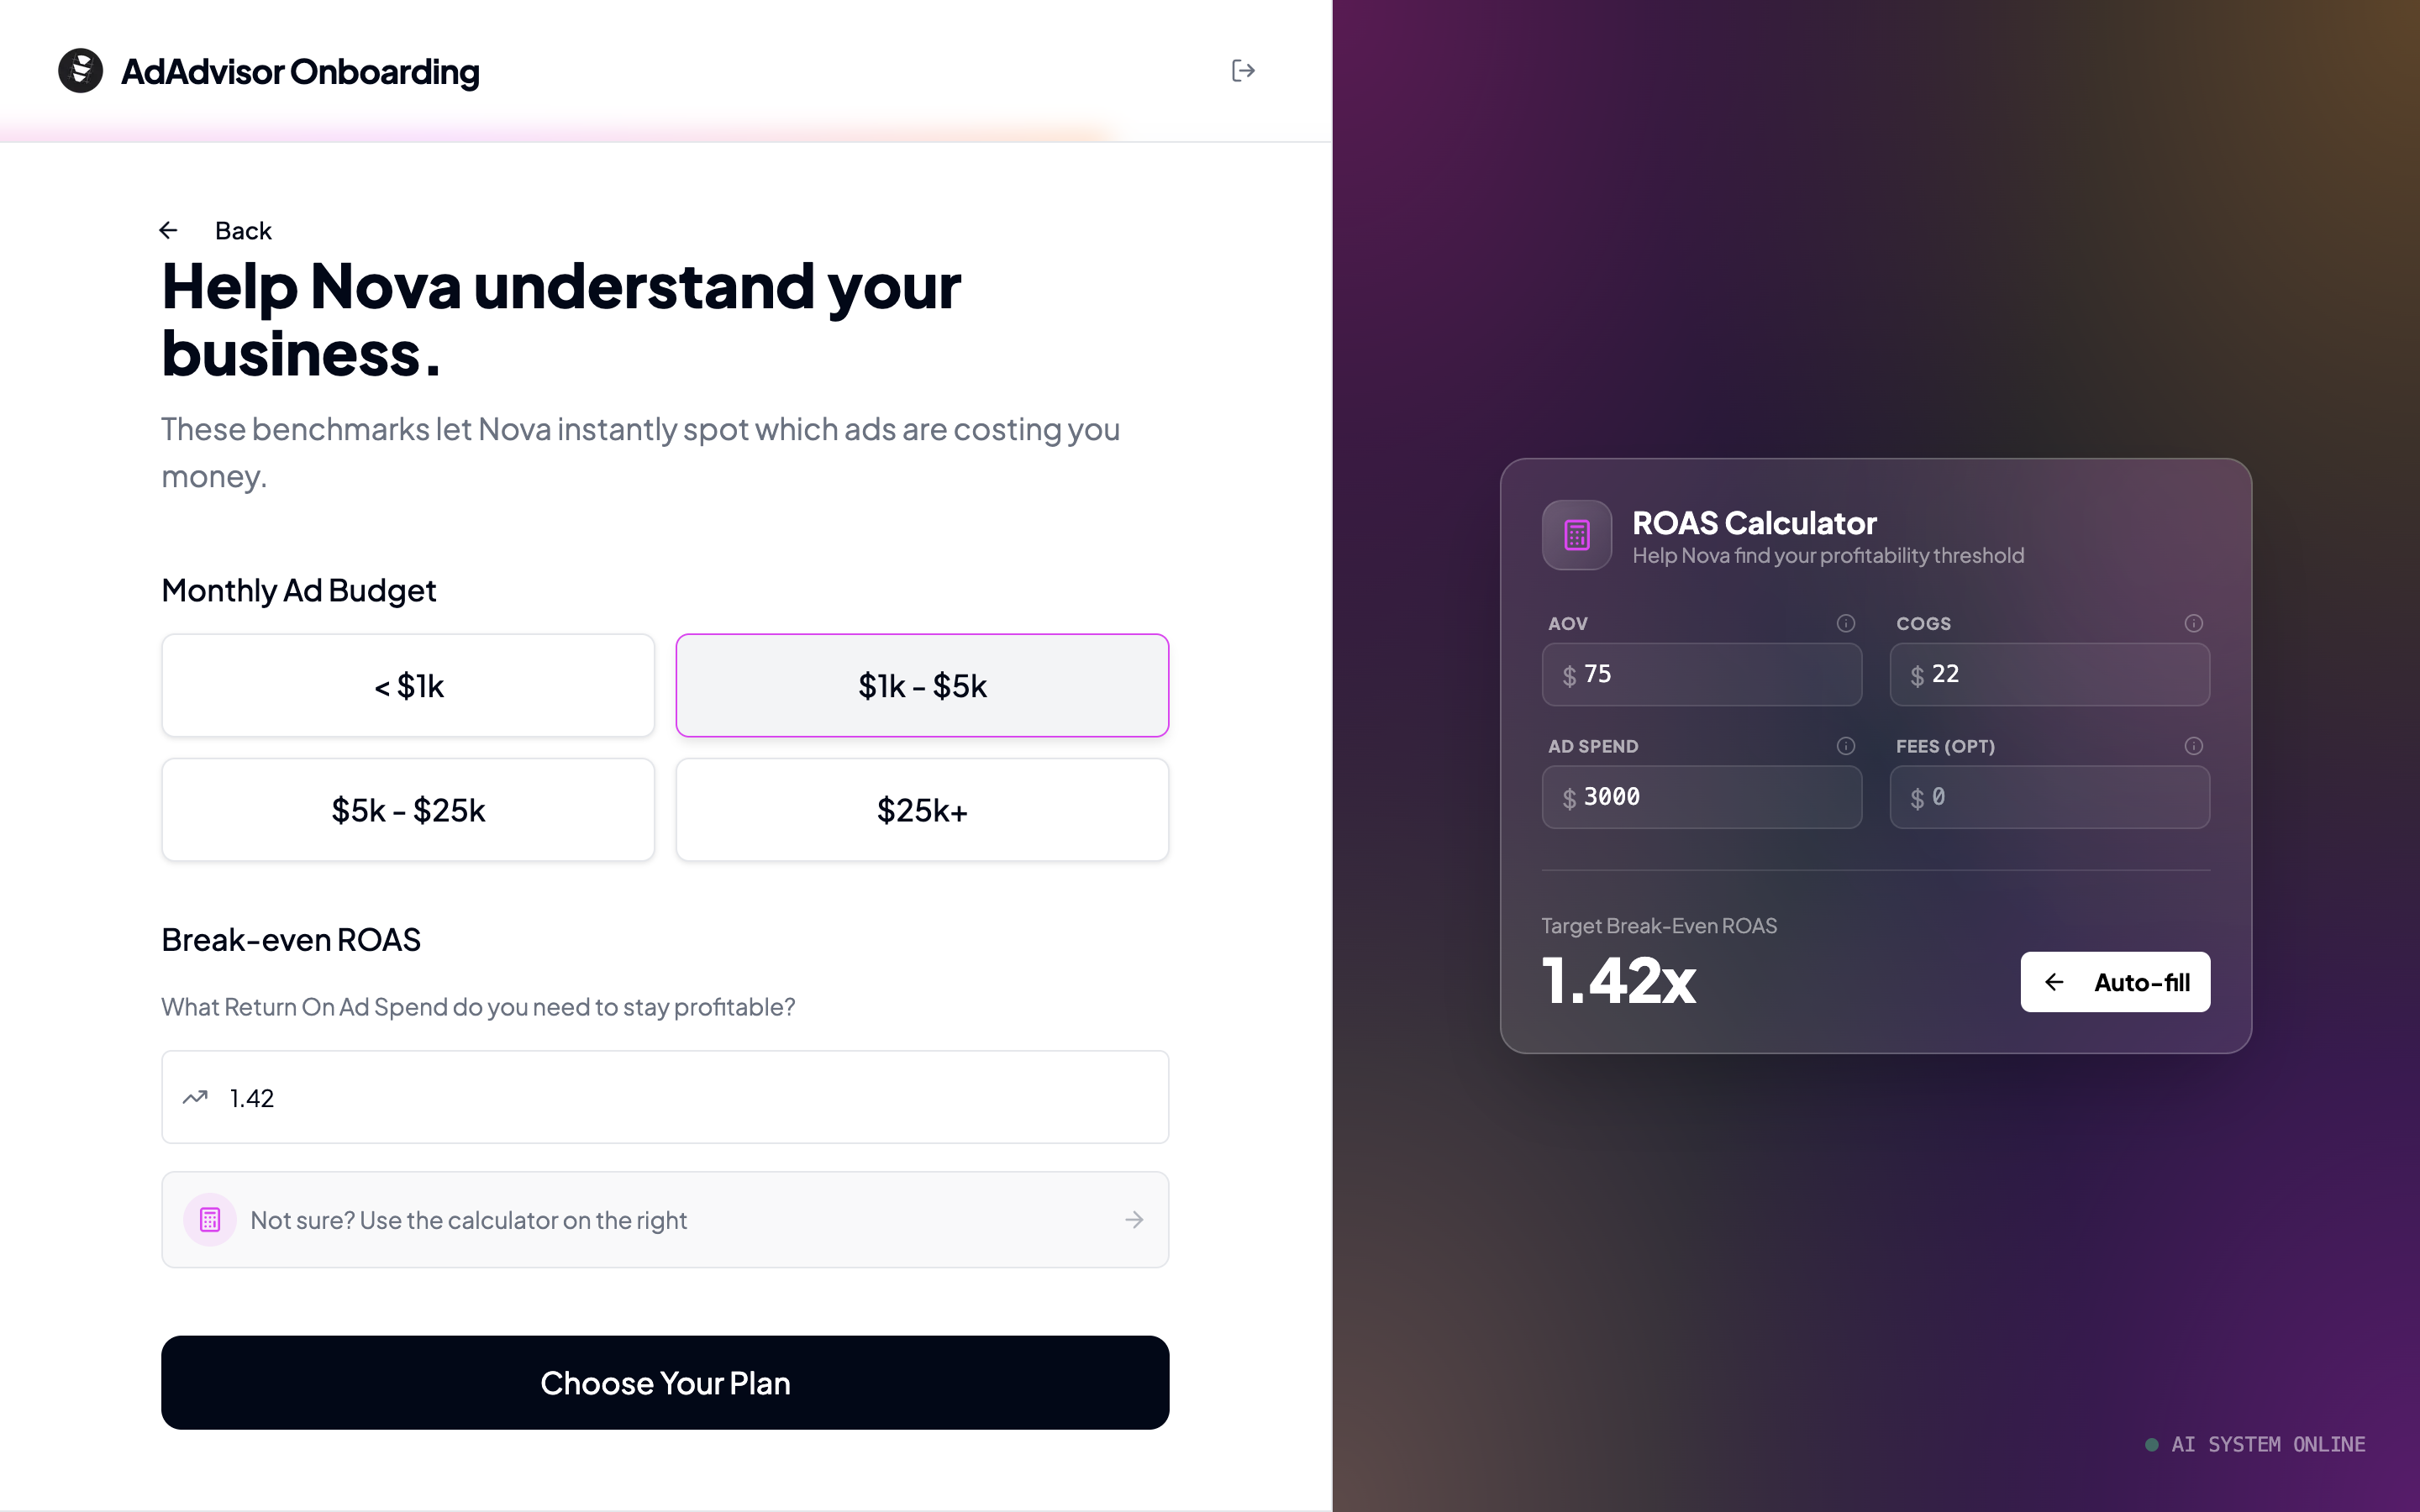
Pick your range from the four options:
* Under \$1,000
* $1,000 to $5,000
* $5,000 to $25,000
* \$25,000+
### Break-even ROAS
Enter the [Return on Ad Spend](/learn/roas) you need to stay profitable. This is the number AdAdvisor uses to color-code your performance metrics throughout the app.
Not sure what your [break-even ROAS](/learn/break-even-roas) is? Use the calculator on the right side of the screen. Enter your [Average Order Value (AOV)](/learn/aov) and cost of goods, and it will calculate it for you.
## Step 6: Budget and metrics
This step has two parts:
### Monthly ad budget
Pick your range from the four options:
* Under \$1,000
* $1,000 to $5,000
* $5,000 to $25,000
* \$25,000+
### Break-even ROAS
Enter the [Return on Ad Spend](/learn/roas) you need to stay profitable. This is the number AdAdvisor uses to color-code your performance metrics throughout the app.
Not sure what your [break-even ROAS](/learn/break-even-roas) is? Use the calculator on the right side of the screen. Enter your [Average Order Value (AOV)](/learn/aov) and cost of goods, and it will calculate it for you.
 ## What happens after onboarding?
Once you finish the onboarding steps, AdAdvisor automatically creates your organization and business, starts your 7-day free trial (no credit card required), and drops you into the dashboard.
You'll land on the AdAdvisor dashboard. From here, your next step is to [connect your Meta ad account](/user-guide/connect-meta-ads) so AdAdvisor can start analyzing your campaigns.
Link your ad account and start syncing data.
## What happens after onboarding?
Once you finish the onboarding steps, AdAdvisor automatically creates your organization and business, starts your 7-day free trial (no credit card required), and drops you into the dashboard.
You'll land on the AdAdvisor dashboard. From here, your next step is to [connect your Meta ad account](/user-guide/connect-meta-ads) so AdAdvisor can start analyzing your campaigns.
Link your ad account and start syncing data.