
Creating an API key
1
Go to Settings > MCP Server
Navigate to the MCP Server settings page. You’ll see a table of existing keys (if any) and a Create Key button.
2
Click 'Create Key'
A dialog appears with two fields:
- Key name: A label for this key (e.g., “Claude Code - Laptop” or “CI Pipeline”)
- Expiration: Choose when the key expires
- No expiration
- 30 days
- 90 days
- 180 days
- 1 year
3
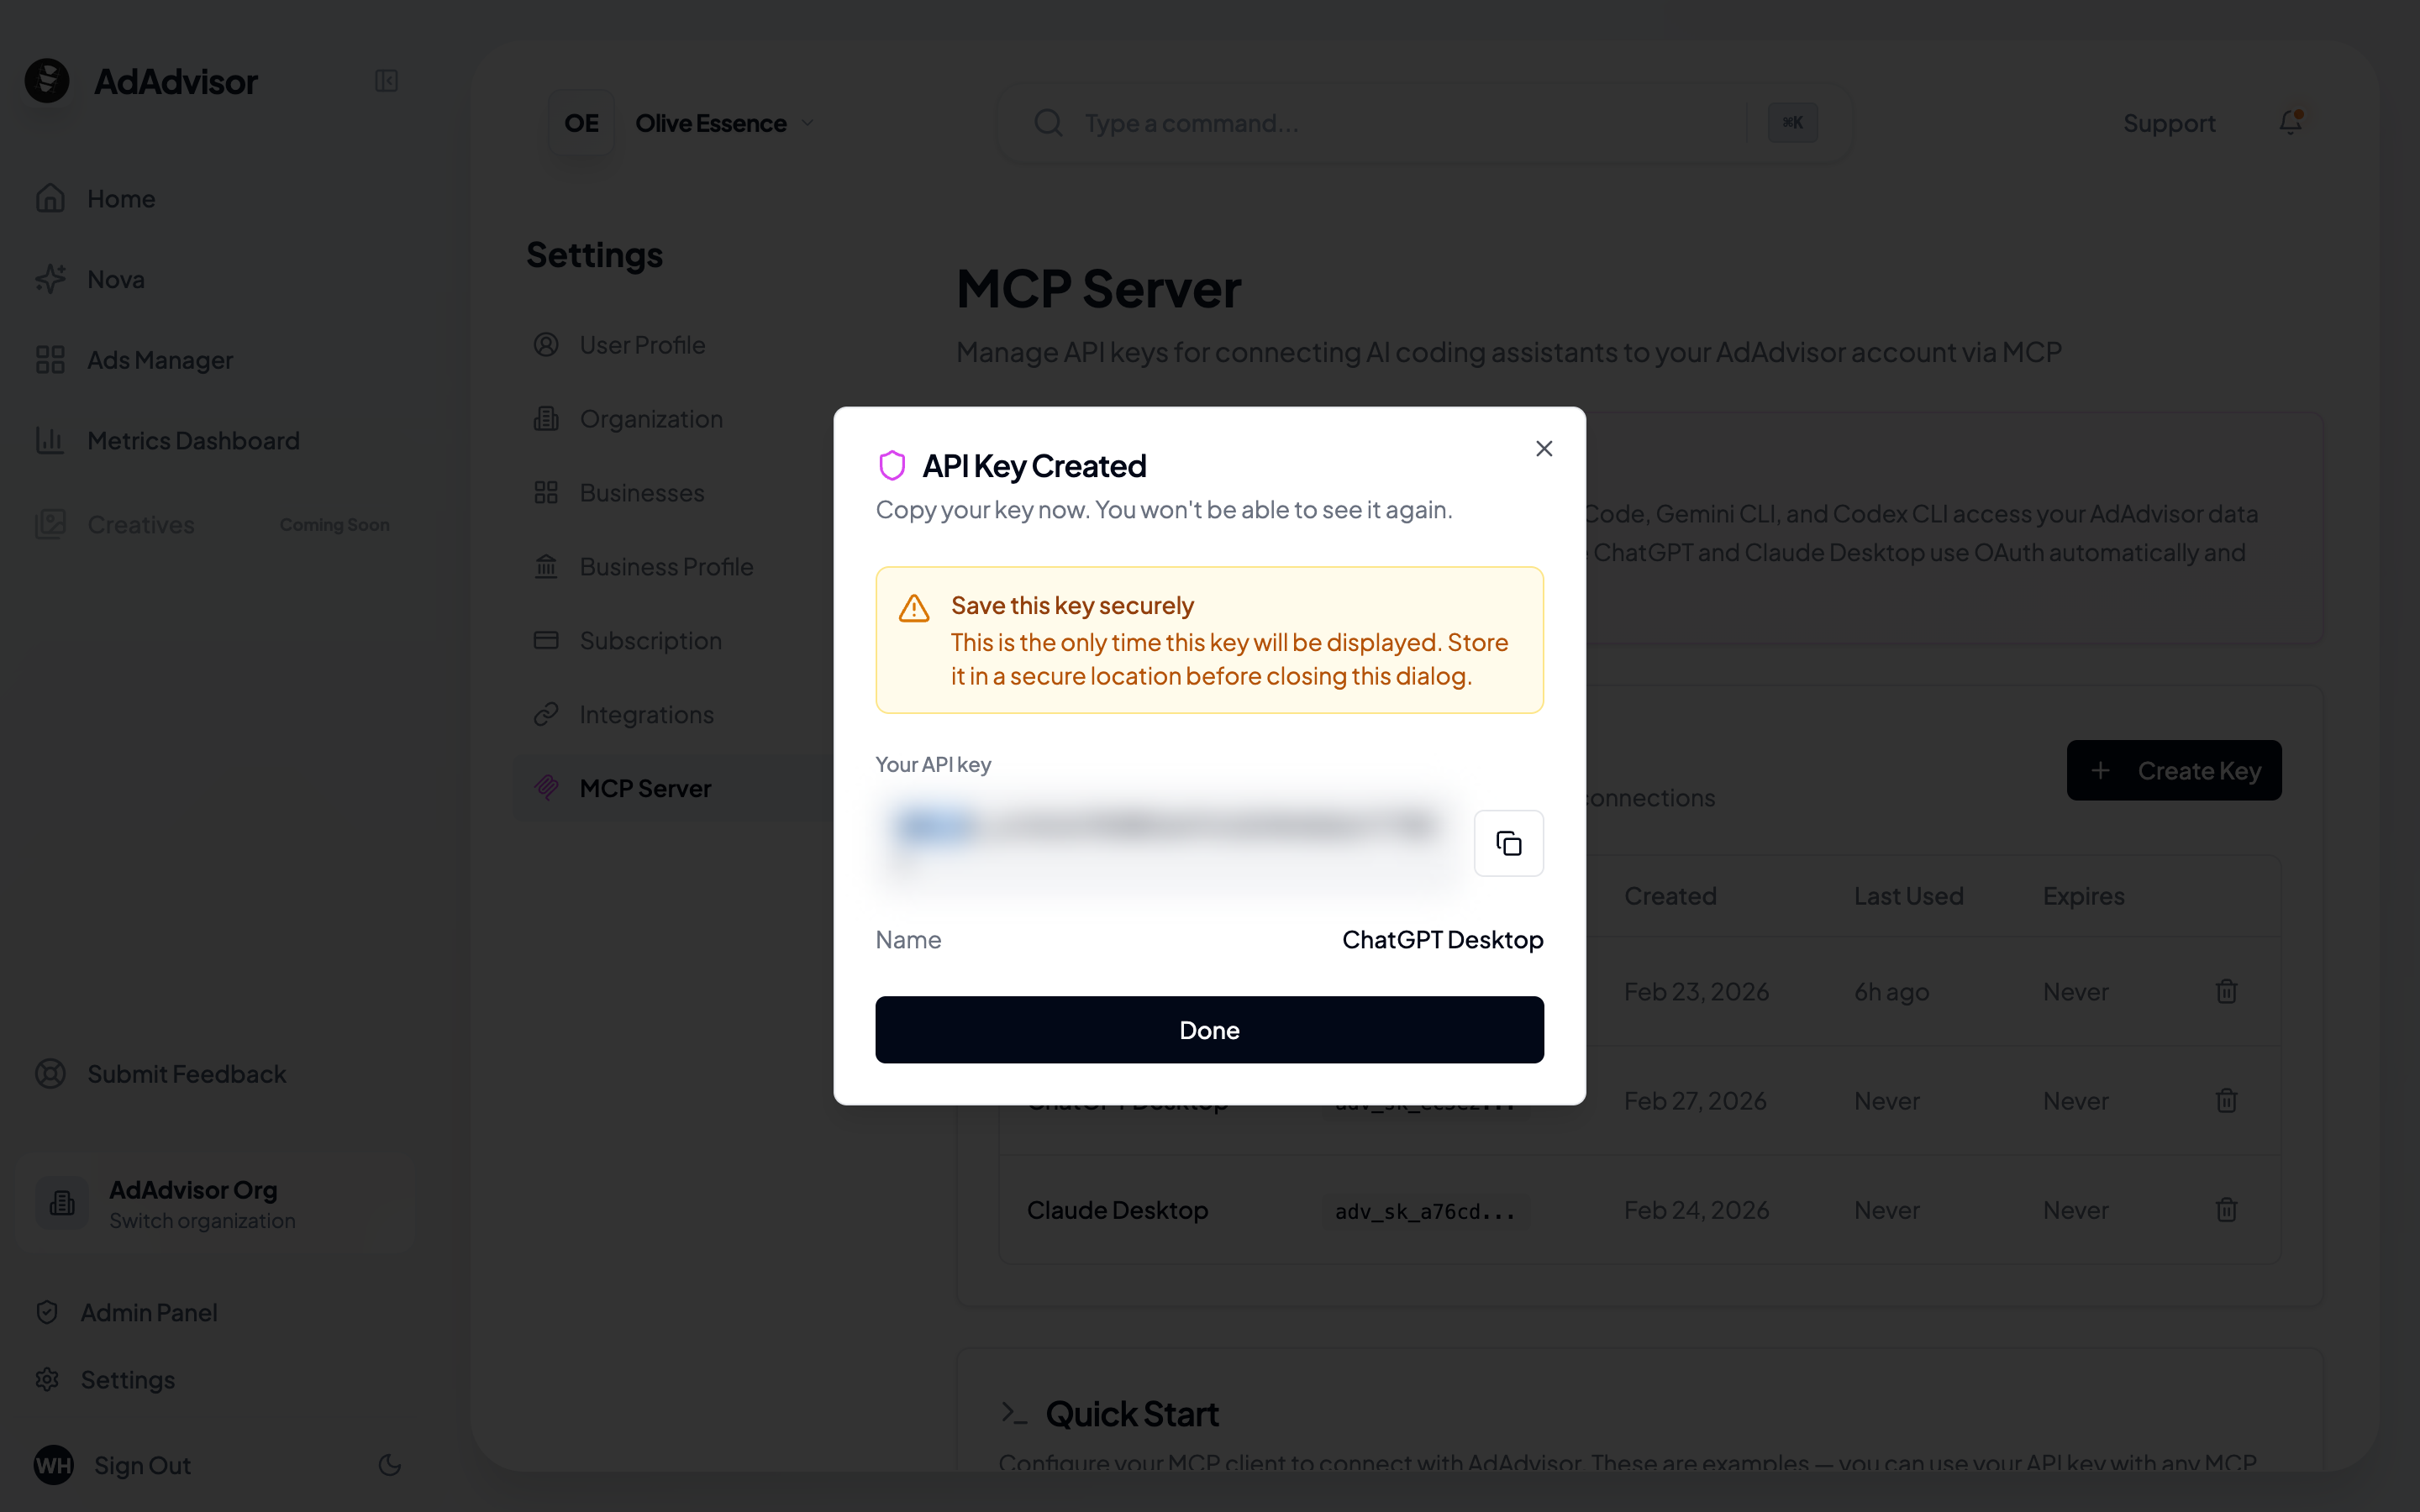
Copy the key immediately
After creation, a success dialog shows the full API key. Click the copy button to save it to your clipboard.
Viewing your keys
The MCP Server page shows a table of all your keys with:Revoking a key
If a key is compromised or no longer needed:1
Click the delete button
On the key’s row in the table, click the delete (trash) icon.
2
Confirm revocation
A dialog asks you to confirm. Click Revoke Key.
3
Key is immediately invalidated
Any client using this key will stop working right away. You’ll need to create a new key and update the client configuration.
Revoking a key is instant and permanent. There’s no way to un-revoke a key. If you revoke one by mistake, create a new key and update your client config.
Best practices
- One key per client: Create separate keys for each tool or machine. This way, if one is compromised, you only need to revoke and replace that one.
- Use expiration dates: For temporary setups or shared machines, set an expiration. For your personal dev machine, “No expiration” is fine.
- Name keys descriptively: Use names like “Claude Code - Work Laptop” or “Cursor - Personal Mac” so you can tell them apart.
- Rotate periodically: Even with non-expiring keys, it’s good practice to rotate them every few months. Create a new key, update your config, then revoke the old one.